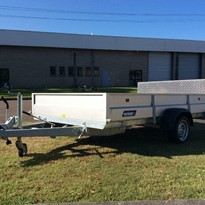
The one thing these activities have in common is that you have to tote along all the accessories. Most open trailers don’t have adequate storage space, if any, to accommodate the life jackets, helmets, paddles and gear, not to mention any spare parts or tools you may need.
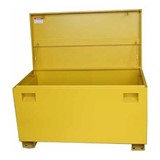
Staring at my boat trailer sparked an idea for an easy do-it-yourself solution for all my accessories and spare parts. What about attaching a utility box to the trailer? The first thing that came to mind was a truck storage box.
In order to achieve a lasting solution, the truck box needs to be securely attached to the trailer. As you can see from the list of materials, tools you’ll need, and the all-important safety equipment below – the trouble of where and how to get started on this great do-it-yourself project has all been laid out for you. So what do you say, go grab your trusty Lincoln Electric AC-225 stick welder and let’s get started.
Step 1: The first step is to drill bolt holes into the channel pieces that will serve as the brackets. After securing the channel piece in a vice, drill a hole at each end of the bracket. This will allow the bolts to slide easily through and into the casing of the storage box.
Handy Tip: Depending on how thick the channel pieces are, you may want to keep both hands on the drill and apply steady pressure to drill the holes.
Step 2: With that one simple step complete, let’s move on to the outside pieces, fabrication, and safety equipment needed to complete the project.
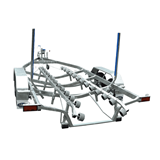
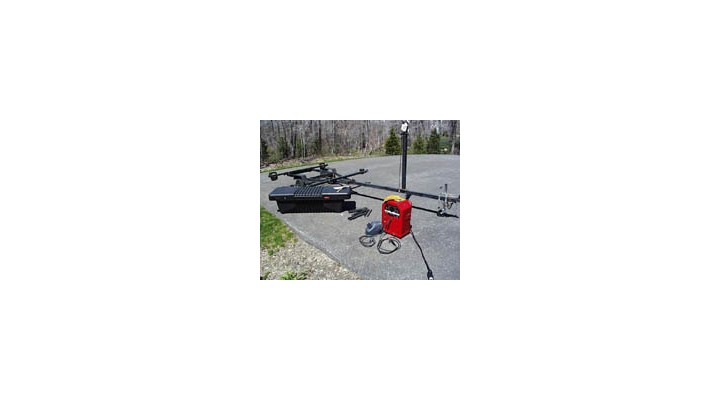
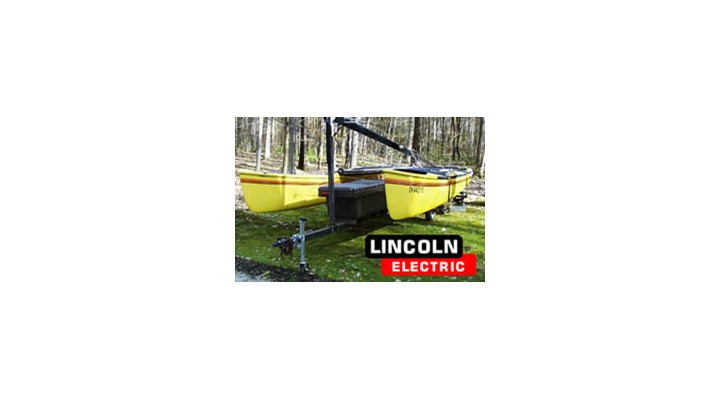
Note: We are using a boat trailer in this example. You may have a different style trailer, so make adjustments accordingly. The storage box will be secured between the upright post (which serves as a mast support on the trailer) and the first cross bar. Four channel pieces will serve as brackets and will have to be welded to the main "tongue" – one at each end and two in the middle.
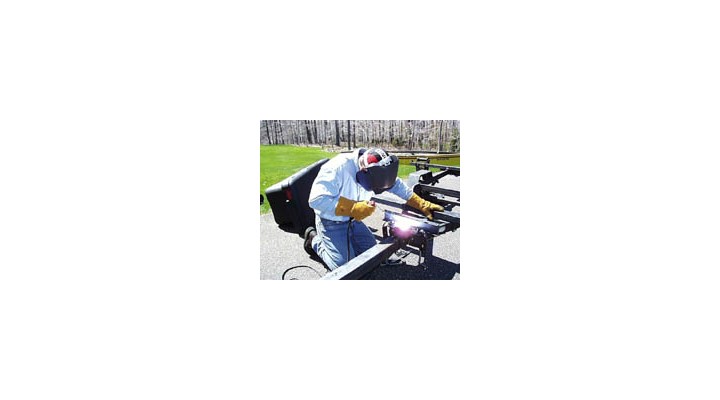
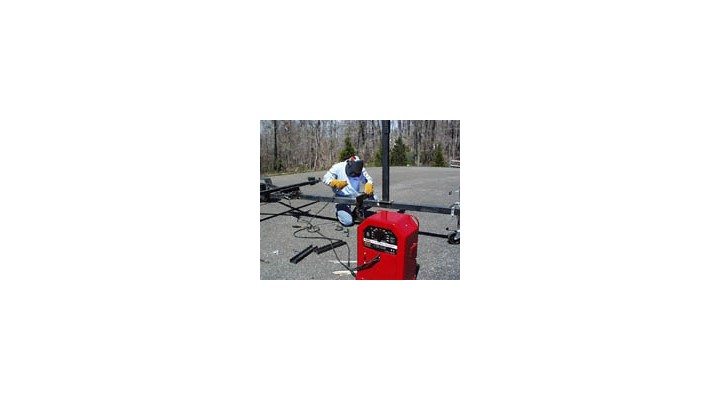
Step 3: Before we make the first weld, there are a couple of things to know. Since the first bracket can only go as far as the first crossbar, this bracket needs to be welded first. Be sure that the holes drilled in Step 1 are on the topside of the bracket. All other measurements will be based on this single piece. The "C" shape formed by the channels will face inward and the bin will rest on top. Ready to weld, think safety first – put on your welding gloves, safety goggles and helmet. Make sure the channel piece is centred and even on the tongue. Place a stick of Lincoln 7018 AC into the electrode holder, attach the ground clamp to the trailer and make a small tack weld on each side. An amperage setting of 120 is appropriate for the 7018 electrode being used. A 1/8" diameter electrode is appropriate for this metal thickness.
Step 4: Measure everything to be sure it is square. The spacing of the brackets depends on the length of the box. So measure the box first.
Handy tip: The good thing about tack welds is that they can be easily removed with a quick knock of a hammer if you find that your measurements are off.
Step 5: Now it’s time to tack weld the bracket on the opposite end, close to the upright. Use the length of the box to measure the distance between the bracket you just welded and the bracket you are now going to weld. Centre the bracket on the tongue and measure the diagonal lines from bracket-to-bracket to ensure they are square.
Step 6: Using the same amperage settings for the electrode, put on all your safety equipment (as mentioned in Step 3) and tack weld the second channel piece to the main tongue of the trailer. This is a simple step, placing a small weld on each side of the channel piece.
Step 7: Time to weld the two centre brackets to the main tongue. Handy Tip: If you have a problem striking an arc with the stick, check to see if there is paint or rust where you want to weld. If there is, use a metal file to clear the metal down to its original base. You can paint over the welds later.
Step 8: Centre the two middle brackets and make sure they are evenly spaced from the end channel pieces. The box we are using has a corrugated bottom. If you are using the same style box, measure the pieces to ensure they match up with the corrugation so the bolts are long enough to fall through both the box and the channel bracket. Now tack weld each of the channel pieces. When done with the tack welds and you are sure all is square, weld along all the joints in order to entirely fuse the channel pieces to the tongue.
Step 9: Once the welding is complete, place the storage box on top of the channel brackets. Locate all the holes you drilled into the brackets earlier and using chalk, mark these holes on the box.
Step 10: Remove the box from its mounting place and turn it upside down onto a flat surface. With the holes clearly marked, begin drilling holes into the box on each chalk spot.
Step 11: And the final step, place the box back on the brackets, line up the holes and drop a bolt with a flat washer through each hole. Secure all the bolts with another flat washer and a lock washer and nut from the inside.
Step 12: Your trailer storage box is complete and ready to cart around all your stuff.
Fabrication Tools
- Lincoln Electric AC-225 welder
- 1/8" Lincoln 7018 AC Electrode
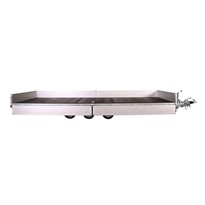
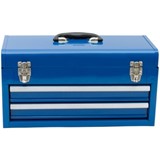
- Storage bin (You can use anything you can get your hands on and be a little creative on exactly how you attach it.)
- Standard drill
- Metal file
- 3/8" bolts and nuts
- Flat washers and lock washers
- 4 pieces of 3" channel cut to size (these would be the mounting brackets for the box – since they are pretty thick, you may want to get them cut somewhere, or you can give it a go yourself with a reciprocating saw.)
- C-clamps


-205x205.jpg)