
Available in both MEX and MEX Mobile, Downtime allows you to capture downtime hours and in turn determines the amount of production downtime within your company, as opposed to the machine downtime recorded on the Work Order.
Adding equipment downtime in MEX is easy and can be done through the Downtime side module that comes standard with MEX.
In MEX Mobile, you also have this ability to record Downtime Records. Where you are prompted to fill out the Downtime for the associated Asset in the Work Order History details.
Let’s take a look at working with Downtime through MEX Mobile
Enabling the Add Downtime Records on the fly option
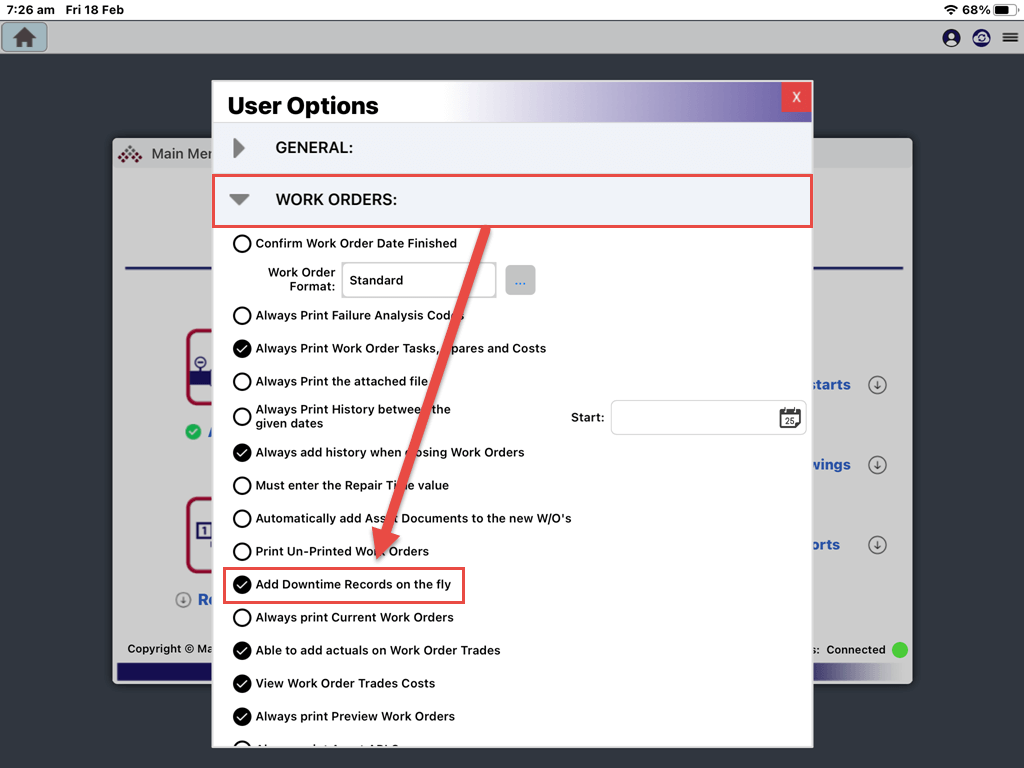
Firstly, the Add Downtime Records on the fly is a user-based setting, so you will need to enable this for any other user that wishes to use this feature in MEX.
- Start by clicking on the top right System Menu =
- Select Options
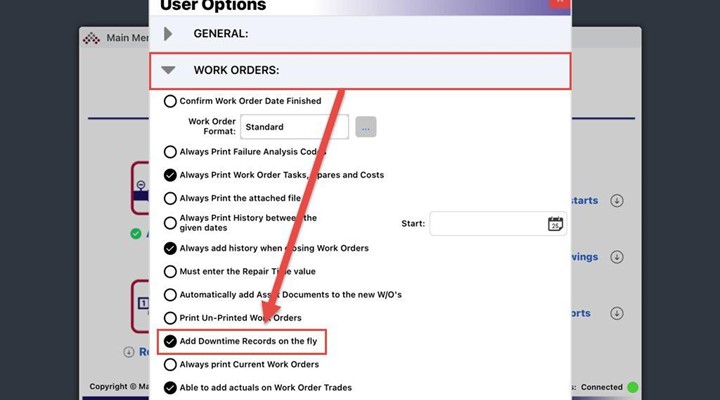
- The User Options window will pop up. Find and tap the Work Orders tab
- Tick the option for Add Downtime Records on the fly
- Close the User Options window to save the changes
Creating a New Downtime Record from within a Work Order
MEX has the ability to prompt you if you would like to fill out a Downtime record as soon as you add downtime hours in a Work Order History record.
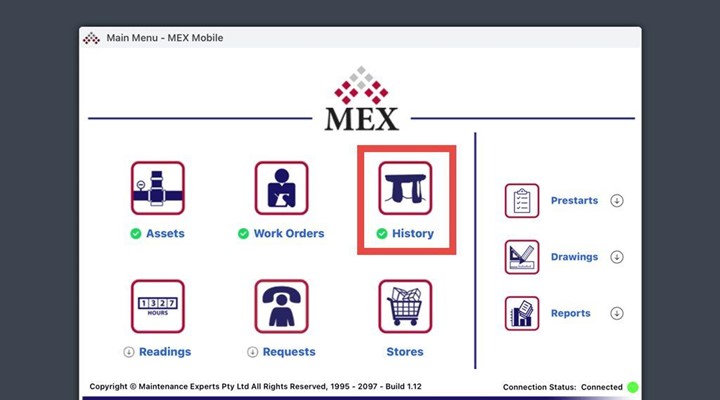
- From the MEX main menu, Open Work Order History

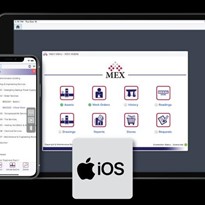
MEX Mobile – Work Order History outlined red
- Open a History Work Order
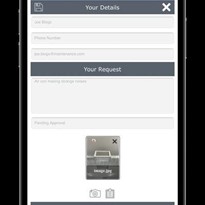
- Tap on the Details tab, then input the Downtime (Hours)
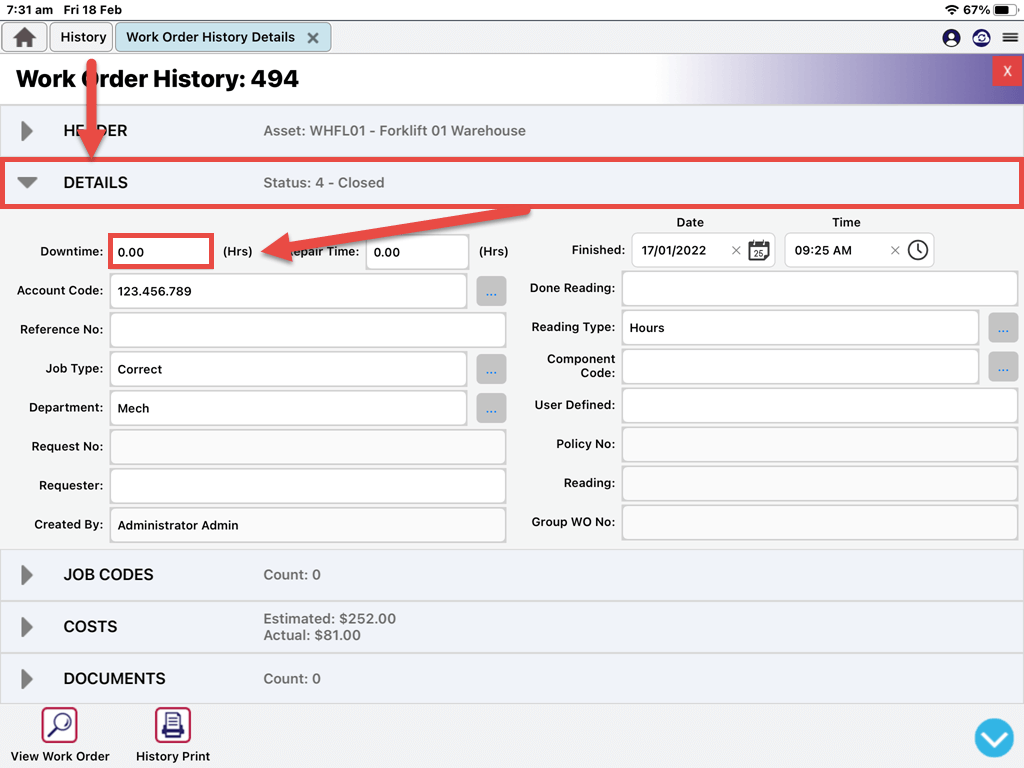
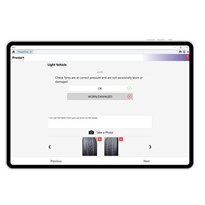
MEX Mobile – Adding Asset Downtime
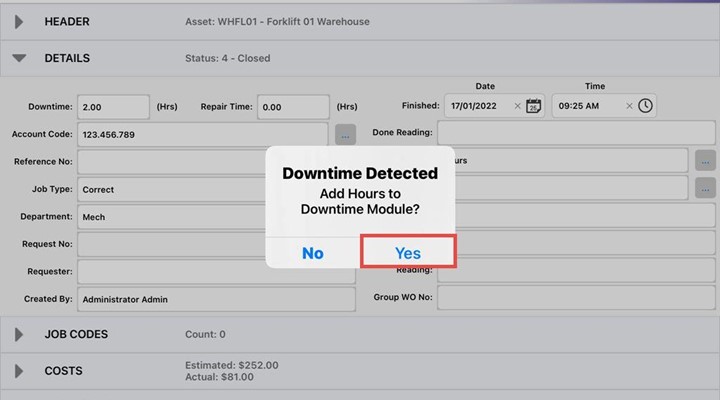
- To save the Downtime, click the top right red close button.
- A window Downtime Detected will prompt if you want to add hours to Downtime Module. Tap Yes to save the Downtime.
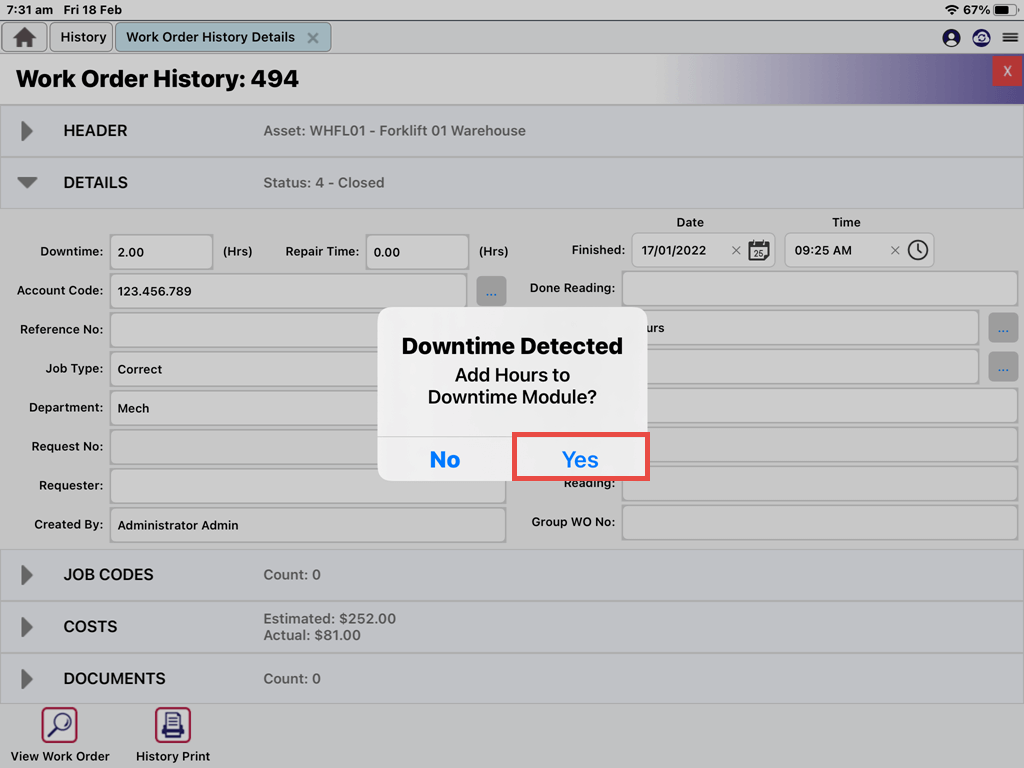
MEX Mobile – Downtime Detected prompt
The Downtime has now been saved.